How Custom Wood Engraving Works: From Design to Finish | Prop & Pine
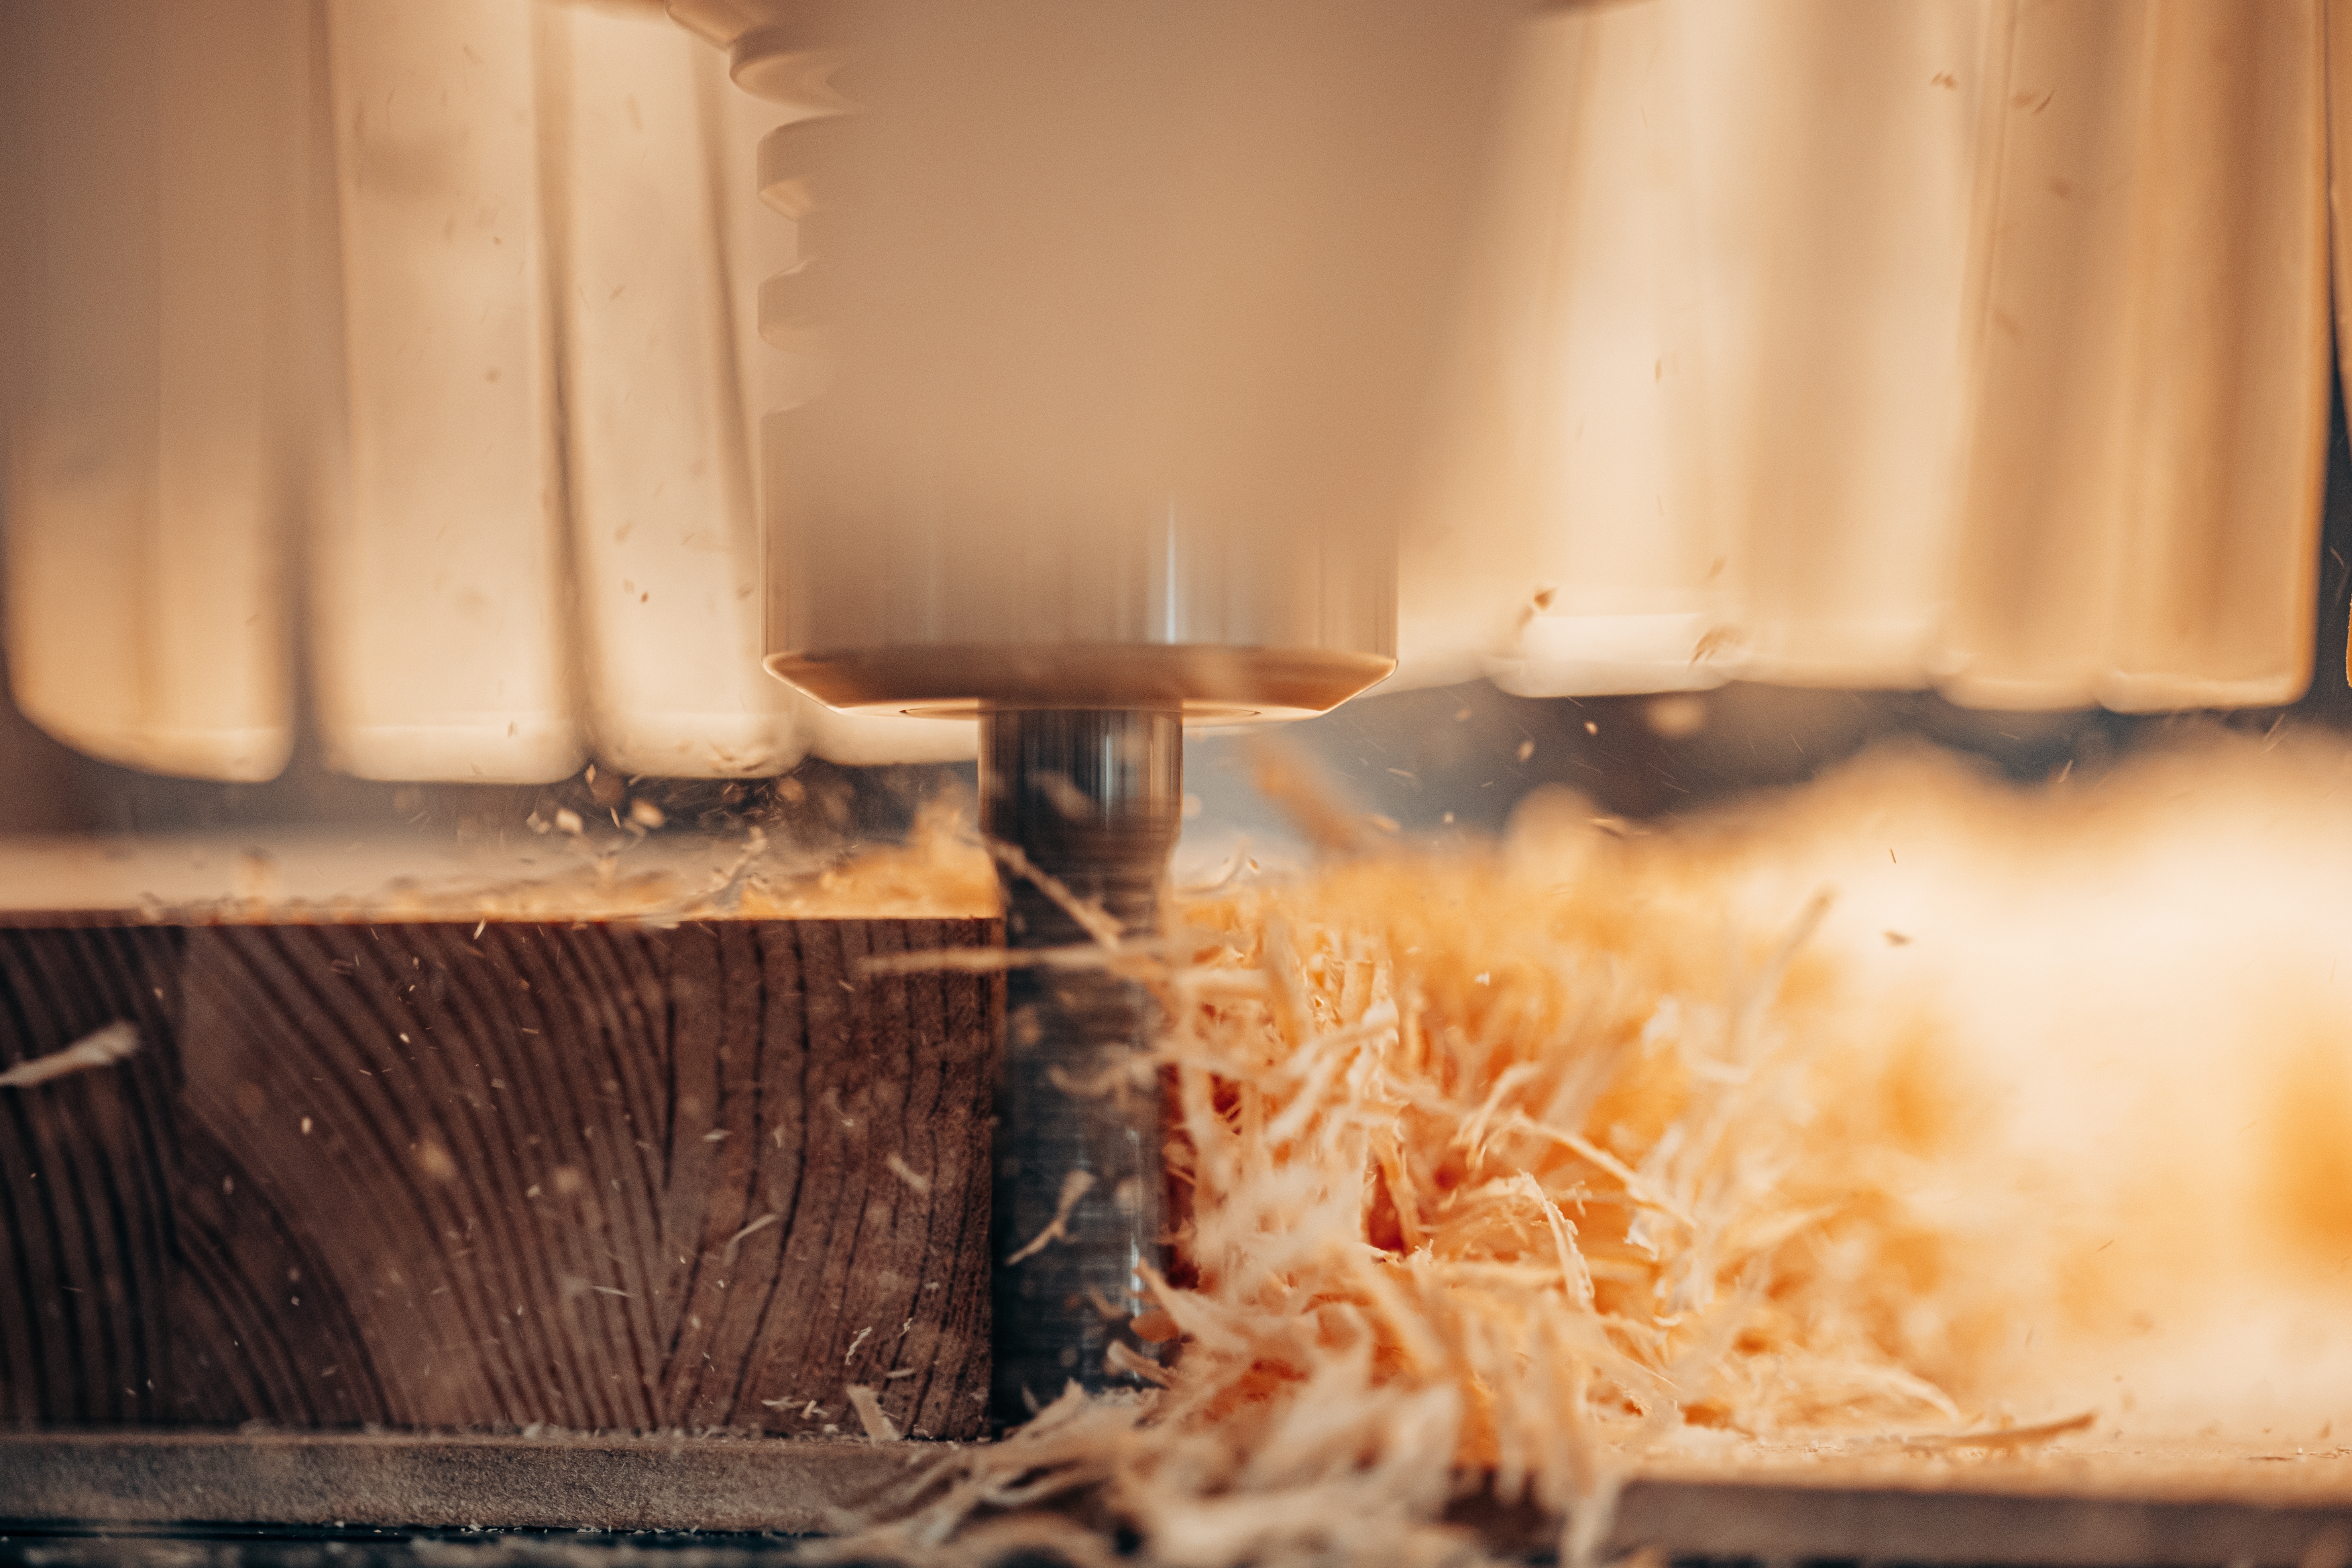
Custom engraved wood pieces have become increasingly common as gifts and keepsakes, but the process behind them varies considerably in quality and technique depending on who is making the piece and how they are doing it. Understanding the difference between a surface burned design and a true hardwood inlay, and what actually happens between the moment you submit a custom order and the moment it arrives at your door, changes how you evaluate what you are actually buying.
This guide walks through the full process used to create a personalized wood board or serving piece, from the initial design stage through material selection, machining, fitting, and final finishing.
Why the Technique Matters as Much as the Design
Most buyers focus on the visual design when ordering a custom wood piece, which is understandable. But the technique used to apply that design to the wood determines how long it stays looking sharp, whether it is food-safe, and how it holds up to the oils and regular use that a serving piece or cutting board experiences over years.
There are three main techniques used for personalizing wood boards in the current market: laser engraving, surface routing, and true hardwood inlay. Each produces a different result, and the differences matter considerably when the piece is expected to last for decades.
Laser Engraving: Fast but Surface-Level
Laser engraving burns the wood surface using a focused laser beam, removing material at the burn point to create a darkened, recessed design. It is fast, relatively inexpensive, and capable of producing detailed designs with fine lines and gradients that other methods cannot easily replicate.
The limitation is that the result is entirely surface-level. The darkened area is essentially a controlled burn, and over time, as the board is oiled and used, that burned area can lighten slightly, absorb oil unevenly, or simply look less crisp than it did when new. For boards used primarily for display, this is rarely a problem. For boards used daily in a kitchen or during regular entertaining, the long-term appearance can be inconsistent.
CNC Routing: Precision Pockets for Inlay Work
CNC stands for computer numerical control, which means a cutting tool is guided by a digital design file to remove material with very precise tolerances. In woodworking, CNC routing is used to cut pockets, channels, and shapes into a board with a level of precision that would take a skilled hand carver significantly longer to achieve consistently.
By itself, CNC routing simply removes material from the board. The real quality leap comes when that precision-cut pocket is used as the foundation for a true hardwood inlay.
True Hardwood Inlay: The Most Durable Approach
A hardwood inlay takes the CNC-routed pocket one step further. Instead of leaving the recess empty or filling it with paint or resin, a second piece of wood from a contrasting species is cut to fit that pocket with extremely tight tolerances, typically within a fraction of a millimeter. This contrasting piece is then glued and fitted into the board, creating a design element that is structurally part of the board itself rather than sitting on top of its surface.
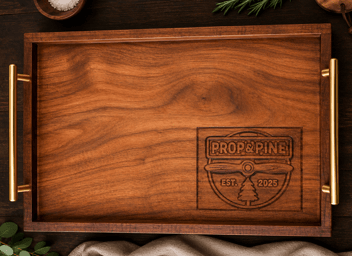
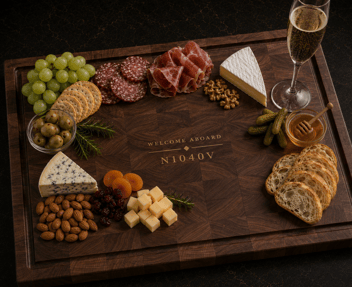
The most common combination is dark walnut with a lighter maple inlay, or vice versa, since the strong color contrast between these two species makes the personalized text or design easy to read at a glance. This is the approach used at Prop & Pine, and the reasoning behind it is simply that a structural hardwood inlay does not fade, peel, or change in appearance over years of oiling and use in the way that surface treatments can.
The full craftsmanship process behind Prop & Pine's pieces, from wood selection through inlay fitting and finishing, is outlined in detail on the Process page.
The Design Proof Stage
Before any cutting begins on a custom piece, a digital design proof is created based on the personalization details submitted by the customer. This proof shows exactly how the text, logo, or artwork will be laid out on the board, including font choices, sizing, and positioning.
This stage is important because it catches errors before they reach the material. A misspelled name or an incorrectly formatted tail number discovered at the proof stage costs nothing to fix. The same error discovered after the inlay has been fitted requires starting over with a new board. Taking the design proof seriously, reviewing it carefully before approving it, is one of the simplest ways to ensure the finished piece matches exactly what was intended.
A free custom design proof can be requested for any Prop & Pine piece through the Request a Design page.
Wood Selection and Its Effect on the Final Result
Custom engraving and inlay work best on hardwoods that are dense enough to hold a clean edge during machining. Softwoods can be engraved but tend to produce rougher results, and the compression from cutting can cause fibers to raise rather than cut cleanly.
- Walnut machines cleanly and the dark tone creates strong contrast with lighter inlay woods
- Maple is extremely dense and produces very crisp inlay edges, making it a popular choice for both the base board and the inlay material
- Mahogany machines smoothly and holds detail well, producing a refined result for more decorative pieces
Wood selection also affects how the piece ages. Walnut deepens slightly in tone over years of oiling, while maple remains relatively stable in color. Knowing which species was used in a piece helps set accurate expectations for how it will look five or ten years into ownership.
Hand Finishing After Machining
Even with precision CNC work, the finishing stage requires hands-on attention to produce a piece that feels as good as it looks. After the inlay is fitted and the glue has cured, the entire surface is hand-sanded to bring the inlay flush with the surrounding wood, removing any slight height difference between the two materials. Multiple rounds of progressive grit sanding bring the surface to a smooth, consistent feel across the entire board.
The final step is food-safe oiling, which protects the wood, brings out the natural color and grain of both species, and creates the visual depth that makes a hardwood piece look genuinely premium rather than flat and dry.
What This Process Means for Longevity
A true hardwood inlay piece, built from premium hardwoods and finished with food-safe oils, can realistically last for decades with basic maintenance. The inlay itself has no separate layers to peel, no ink to fade, and no surface coating that can crack or chip. It is simply wood fitted tightly within wood, which means the only thing that changes over time is the natural deepening of the wood's character as it ages with use and regular oiling.
This is the practical difference between a gift that looks impressive for a few years and a piece that remains a part of someone's daily life for twenty or thirty years, which is ultimately the goal behind the craftsmanship approach detailed on Prop & Pine's Process page.
Frequently Asked Questions
What is the difference between wood engraving and wood inlay?
Wood engraving removes material from the surface to create a recessed design, while inlay involves cutting a pocket into the wood and fitting a separate piece of contrasting wood into that space. Inlay tends to produce a more permanent, visually striking result because the second wood becomes a structural part of the board.
How long does it take to make a custom engraved wood piece?
Most custom engraved or inlaid pieces take one to three weeks from design approval to completion, since each piece is handcrafted and made to order rather than pulled from pre-made inventory.
Is laser engraving or CNC inlay better for a personalized wood board?
CNC inlay using a contrasting hardwood produces a more durable, three-dimensional result than laser engraving, which simply burns the surface. Laser engraving can fade or darken unevenly over time with oiling, while a true hardwood inlay remains crisp and legible for decades.